Step 1 Add Attachments Macro
Add the Attachments Macro to a section of the page, in this example the Attachment Macro has a Attachment label use-case.
To add a maco select the + "Other Macros" or hold down Shift and the { keys at the same time to see the macro choices. Select "Attachments macro"
Step 2 Add labels to attachments
On the page you want to organize your attachments, click on the paperclip icon at the top of the page.

This takes you to a listing page of all the attachements on the page.
Click on the label icon to add a lable to the attachment. In the example, the meeting label "meeting-agenda" has been added to the attachement. The label "meeting-agenda" should be used for all meeting agenda attachements.
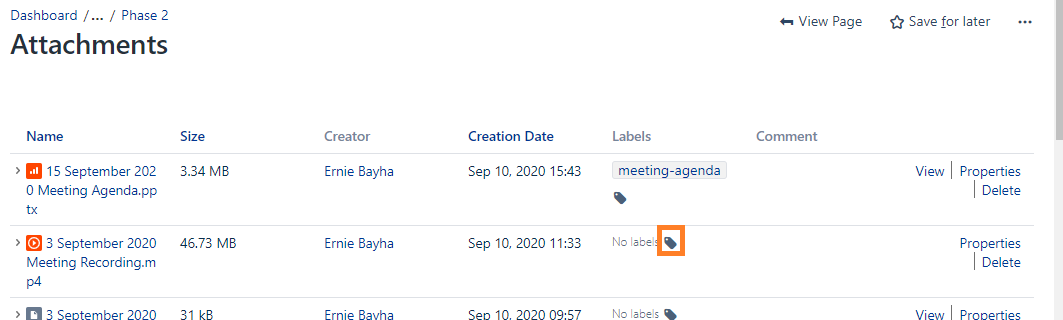
Be sure to select ADD to add the label to the attachment. Then select Close.

Step 3 Add details for type of file to display
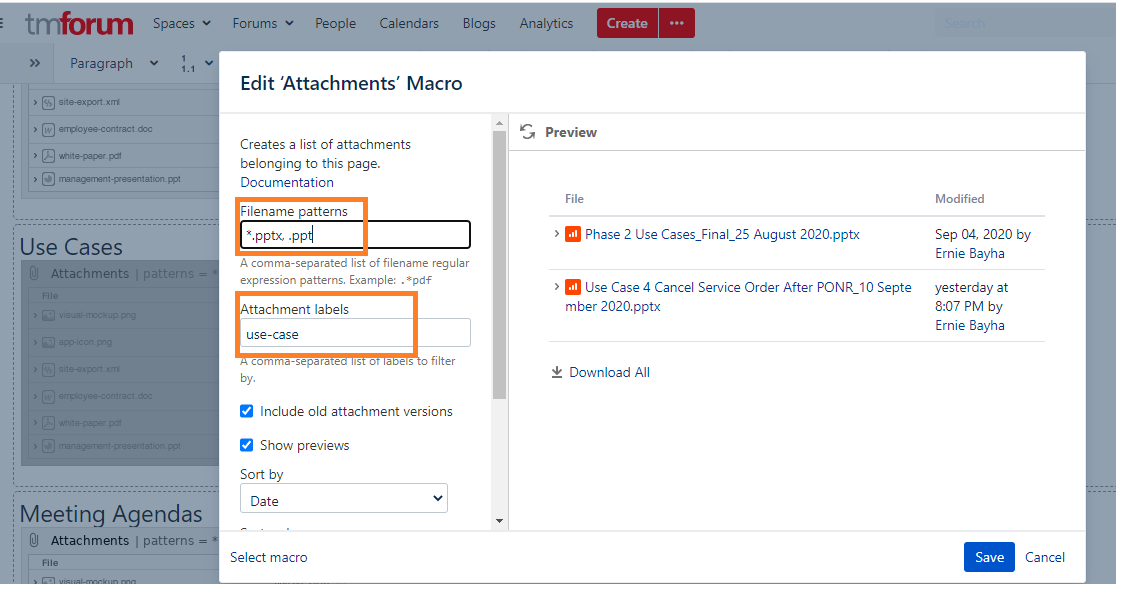
Double click/ open the Attachments Macro.
Add the Filename patterns, in this example powerpoint attachements *.pptx, .ppt
Add Attachment labels, in this example, use-case.
Attachment labels are user determined, if you need to create a new one it's easy. You can do that on the Attachmentpage when adding a lable. Labels are specific to a project space.
Step 4 Add attachments
Add attachments to the section they belong in with the Drag and Drop or browse funtion. This will automatically add the label of the Attachment macro in that section.
If you need to change a lable, go to the section and click the label or you can do a bunch at a time on the attachment listing page by clicking on the paper clip. As new attachements are added to the page, it is important to label them to appear in the correct section/attachment macro.
1 Comment
Juan Mark
Amazing info! I appreciate your work it very useful information for the users. I suggest this project now you can using cloud devops solutions to easy for help users.